Installation
SmarterStats comes as a single installation file that contains everything necessary to run the product and get it set up on your server, regardless of the Edition that you intend to use. The features available are based on the license used during the activation process; if no license is entered, the Free Version will be installed. The SmarterStats installer can be downloaded from the SmarterTools website. Before you get started, however, make sure you have reviewed the System Requirements necessary for SmarterStats to run.
Jump to:
- Installing SmarterStats - This covers installing SmarterStats as your standalone stats processor and Management and Reporting Server (MRS), for use with local log files, log files accessed over FTP (or sFTP), etc.
- Installing the Remote Service - This covers installing the SmarterStats service that would be placed on any remote web servers. The Service is only available with SmarterStats Enterprise and runs as a standalone stats processor, gathering and processing log files and reducing the load on the primary SmarterStats server.
Installing SmarterStats
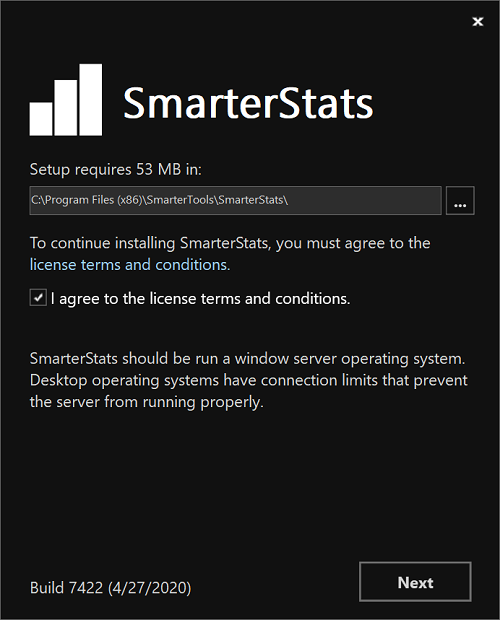
The SmarterStats installation process is remarkably simple and starts by installing the overall application and application files. This is just like any standard program installation: you start the installation, select the path for the installation and then agree to the SmarterStats license terms and conditions.
You'll be able to track the progress of the installation as SmarterStats is configured on the server. Once the initial file installation occurs, the next step is walking through the IIS Configuration Tool. This installation process includes:
- First, you're presented with the default installation path and are asked to agree to the SmarterTools license
terms and conditions.
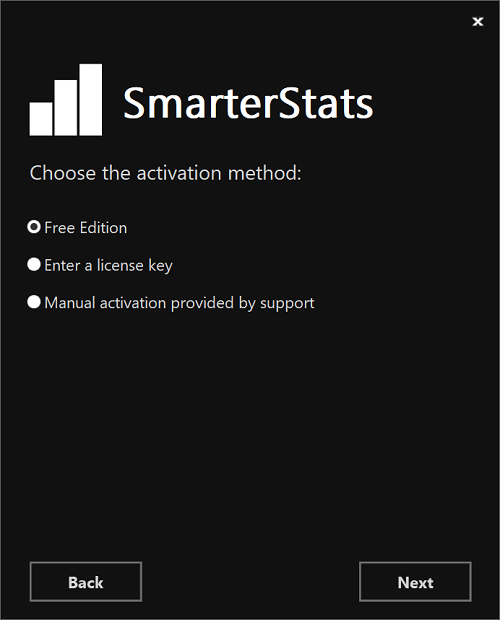
- Next, you'll Select your activation method. This includes whether you're installing the Free Edition, whether
you have a license key or whether you've been given a manual activation from SmarterTools. Manual activations
are used in circumstances where SmarterTrack will be used on an internal network that has no public access.
- Then, the installation process will verify that IIS is installed. If IIS isn't present, the installation will actually install IIS for you as it is a requirement for SmarterStats.
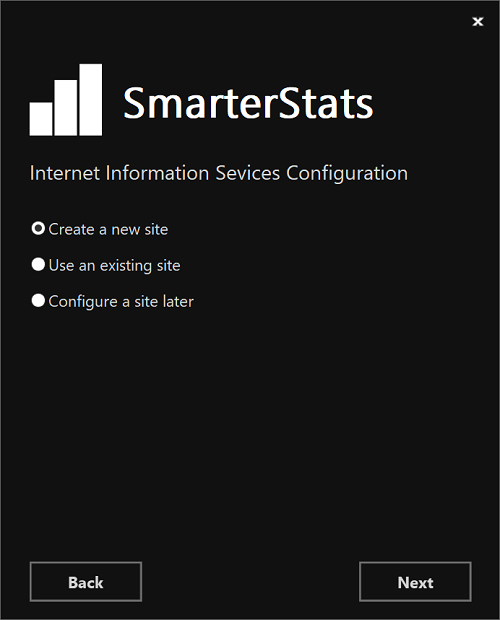
- After the IIS check, a check is performed to see if a SmarterStats site already exists on the server. If not,
one can be created. If a site already exists, you can select that site and use it for your installation. Using
an existing site is perfect for users who are simply upgrading their installation to the latest version.
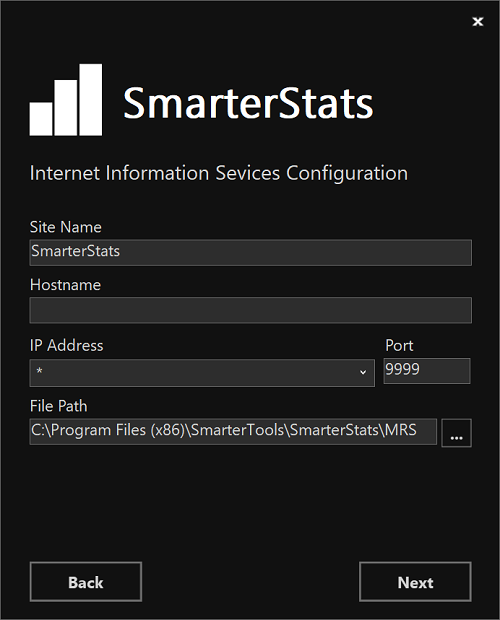
- If setting up a new site, you set the site name, set you your hostname, select the IP(s) to use for the
installation and the file path for the Management and Reporting Server (MRS). If using an existing site, these
steps are bypassed; you're asked to select the site you wish to use for the installation.
- After setting up your new site, SmarterTrack will create an app pool using that site name, then set up as a site in IIS that uses the new app pool.
- Next, the necessary permissions are set for the site.
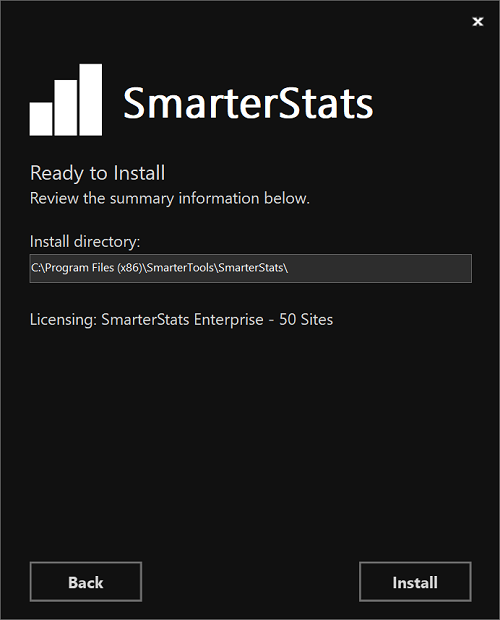
- Finally, the installation is verified, and you're presented with the "Ready to Install" page that states the
install directory and the licensing information for SmarterStats. If everything looks good, you can press the
Install button.
- Once everything is verified, the installation occurs. After a successful installation, the Getting Started wizard opens using the server's default browser. (If a default browser is not set, you'll be offered options on which browser to use.)
Getting Started Wizard
The Getting Started Wizard is a remarkably simple process that gets SmarterStats up and running on a server. Using it, you walk through the following pages:
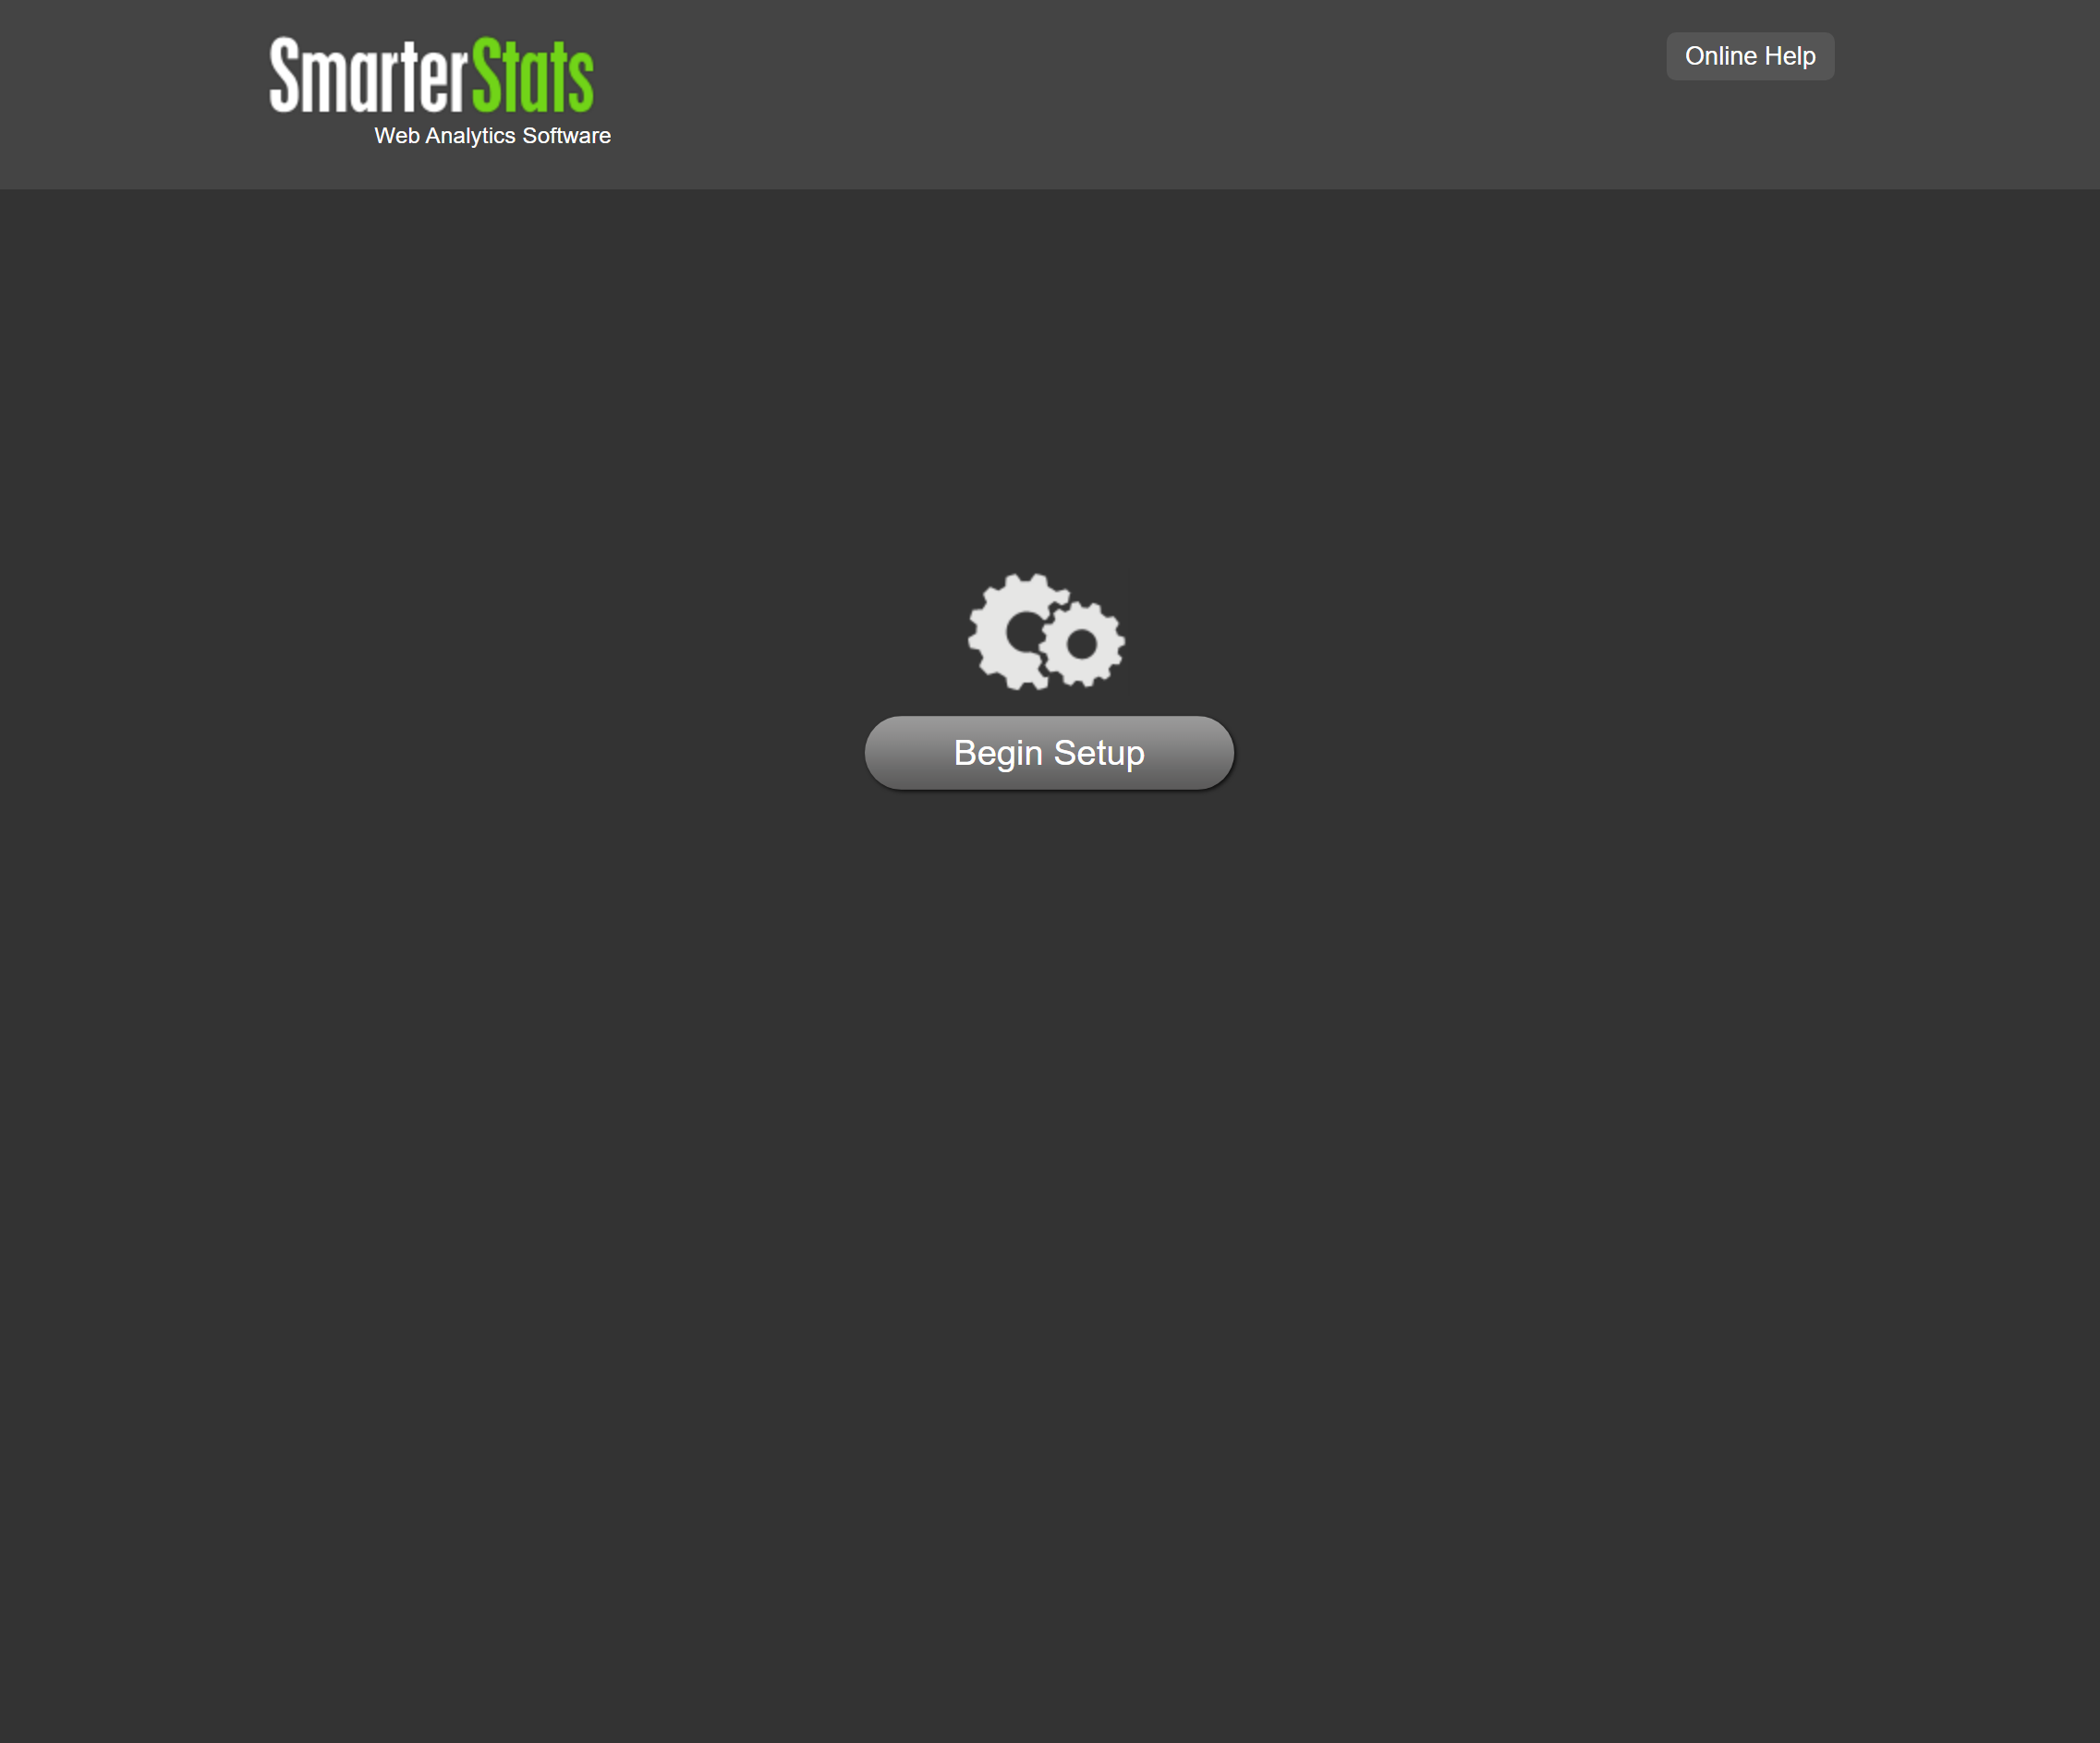
- The first page gives you the ability to begin the setup process. Clicking Begin Setup will configure SmarterStats on the server.
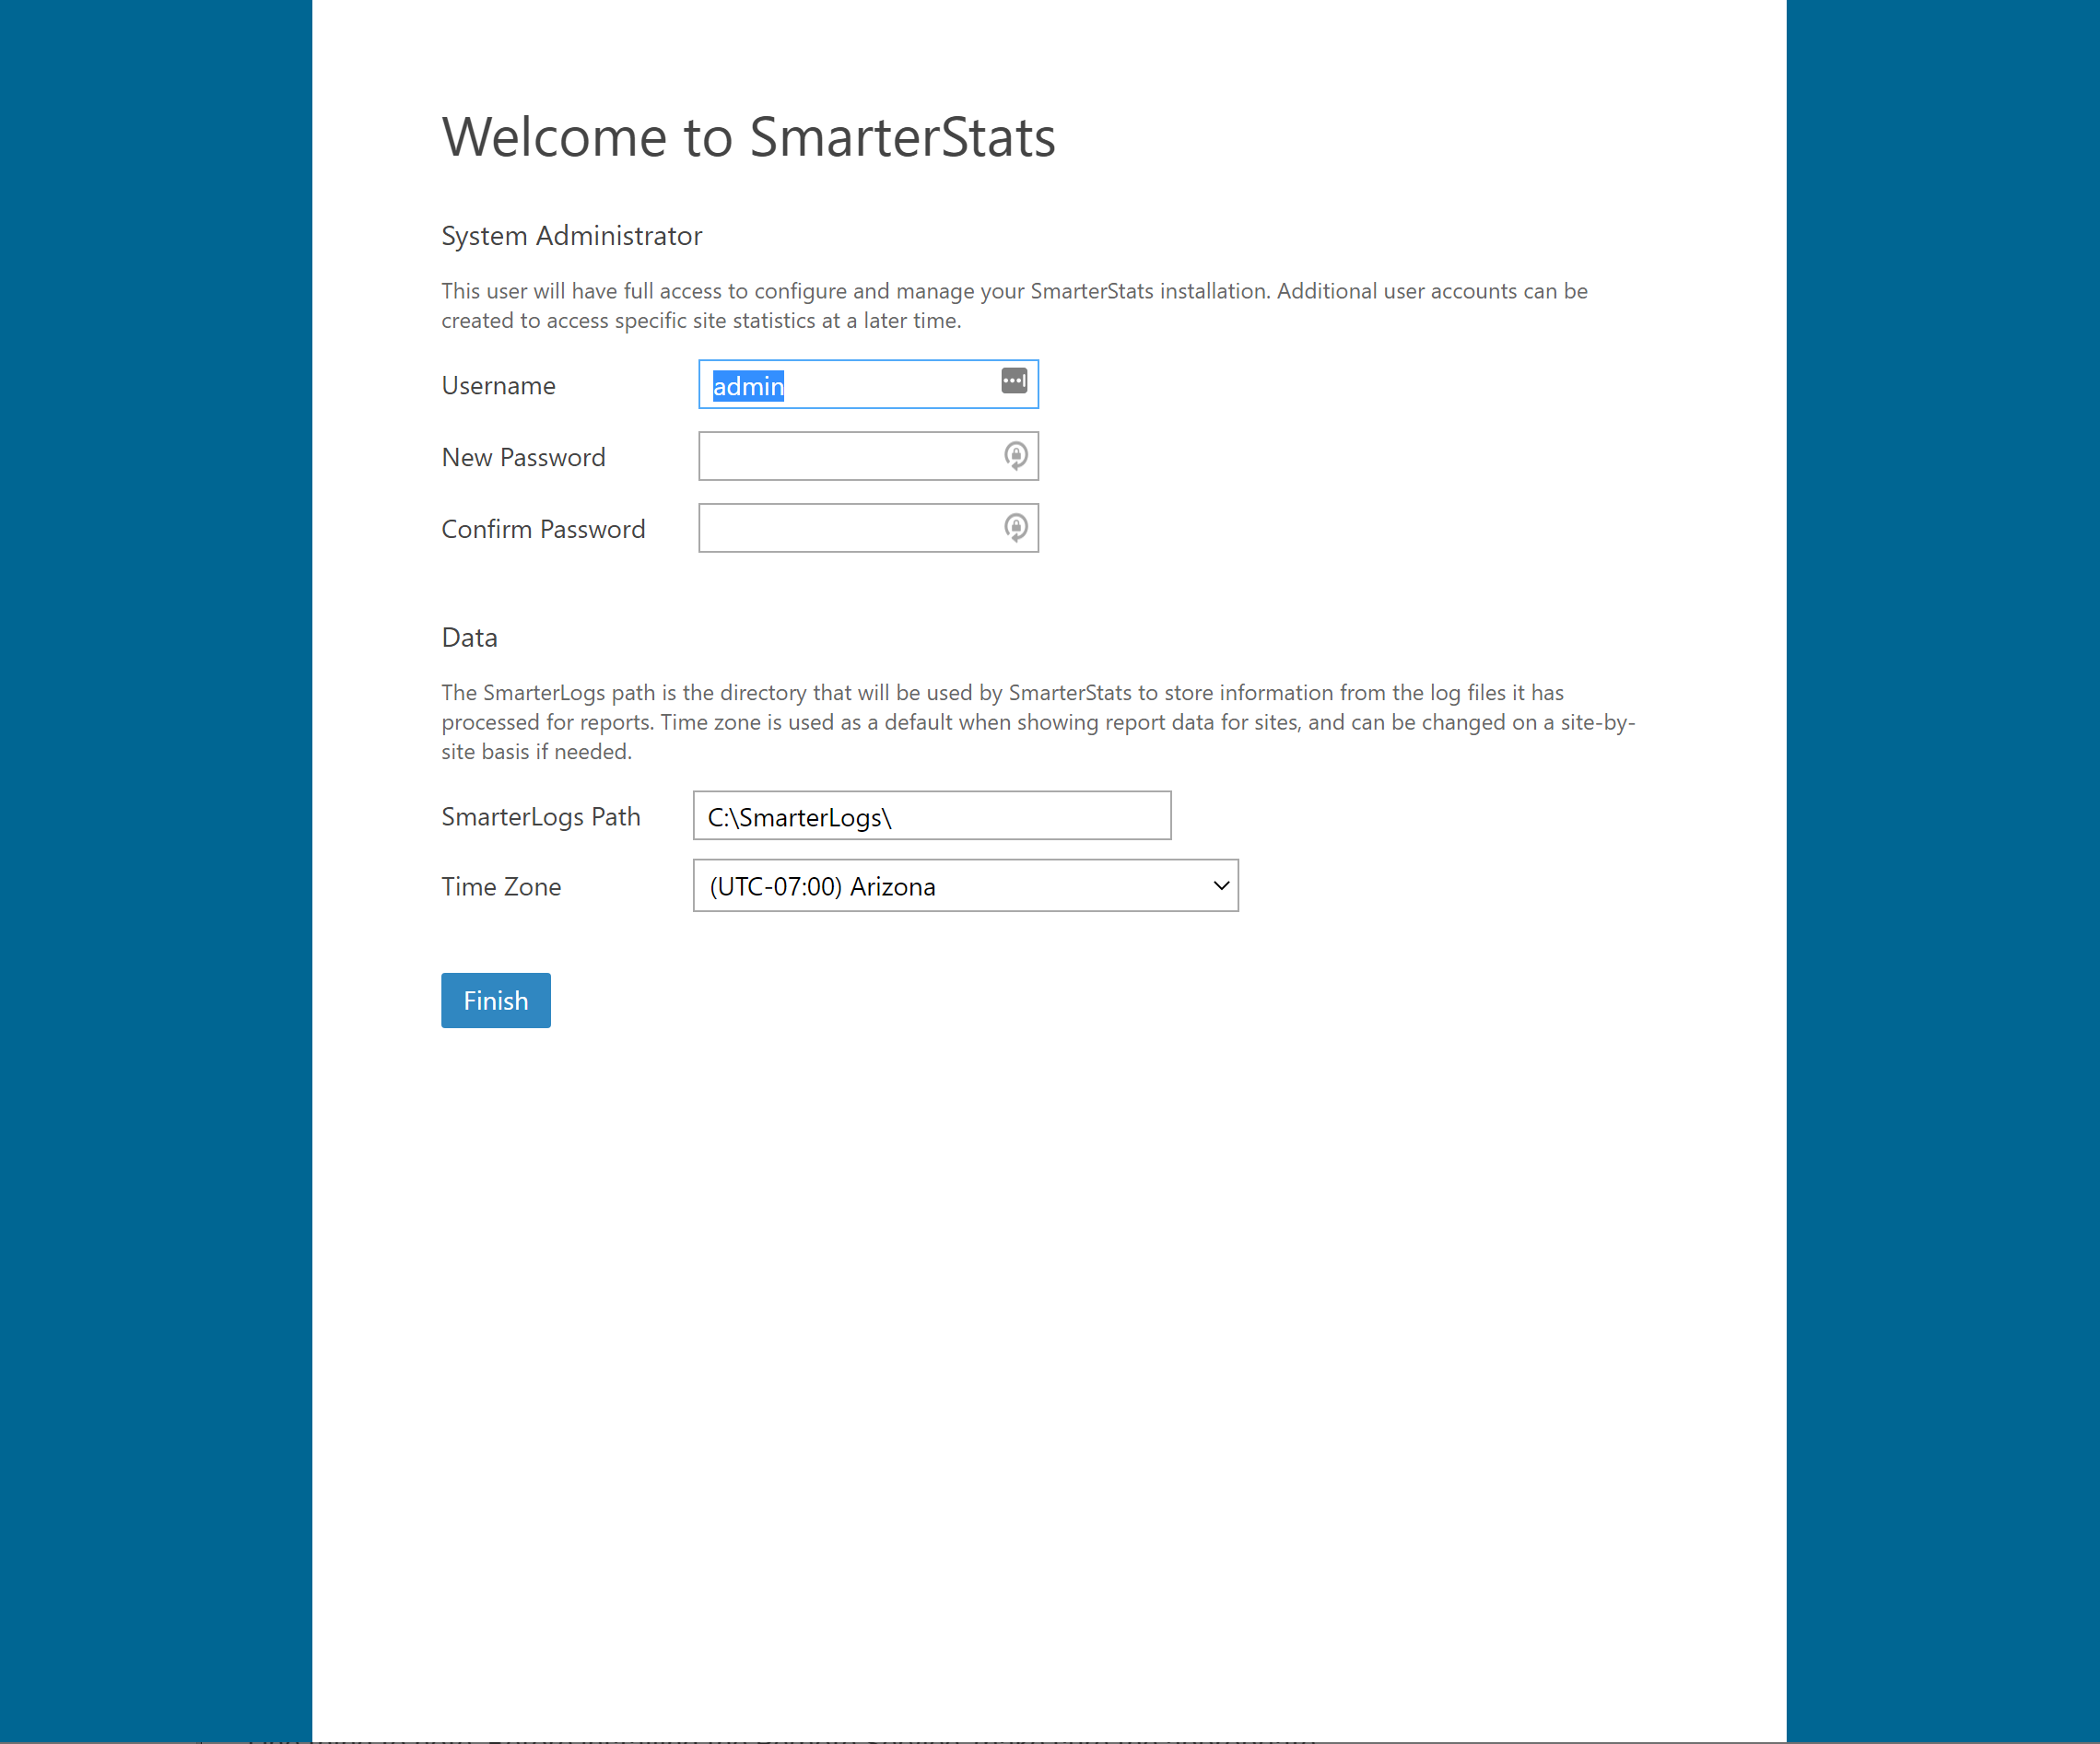
- Next, you simply set up your overall System Administrator account and password, then tell SmarterStats where you want the custom SmarterLogs to be stored and the time zone you want to use for displaying report data. (This can be changed on a site-by-site basis, as needed.)
- Once this is done, click the Finish button and you'll be logged in to SmarterStats using the System Administrator account you created. From there, you can start adding in websites and start processing log files!
Installing the Remote Service
SmarterStats Enterprise offers System Administrators the ability to install a Remote Service across various web servers so that the majority of the processing of web logs is handled by those remote servers, leaving the primary SmarterStats installation to act as a Management and Reporting Server (MRS), simply gathering the data and displaying reports. This is especially helpful for organizations having multiple websites scattered across multiple web servers, like web hosts, ISPs or enterprise organizations that manage multiple brands or companies.
One thing to note: Before installing the Remote Service, make sure the appropriate version of the .NET Framework is installed on your remote servers. (Take a look at the System Requirements for the proper version.) In addition, the MRS will need to be installed, using the instructions above.
Installing the Service
- Download the Remote Service Installer (.MSI) from the SmarterTools website. (The link to download the installer is under the main Download button.)
- Run the installer -- it takes just a few minutes, and needs to be done on each remote server. NOTE: As the remote service uses an MSI, the installation process can be automated as needed.
- Follow the steps to accept the EULA, choose the installation location, install the service and finish up the installation.
Adding Servers to SmarterStats
Once the Remote Service is installed on your servers, you can begin adding the servers to the MRS. Do the following for each server:
- Log in to SmarterStats as the System Administrator.
- Click the Settings icon.
- Expand the Servers menu, if it isn't already.
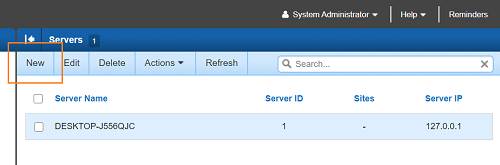
- Click on Servers in the navigation pane. The default server the MRS is installed on should show up.
- Click the New button
- A pop-out window opens. Complete the following information:
- Server ID - This number auto-increments, but you are able to set it to whatever you like.
- Server IP - The IP address of the server the Remote Service is installed on.
- Server Name - A friendly name associated with the server. This can be the internal server name (e.g, Web01), the site(s) on the server (e.g., Lincoln Financial sites), etc.
- Regarding Import Settings, if you want the stats to process on the servers independently -- for example, the server is in a geographically different location than the MRS -- the Import Settings can be configured on a server-by-server basis to account for these types of differences. Otherwise, they'll use the default settings.
- Be sure to save your settings prior to closing the pop-out window.