Sending Your First Email
So, you're ready to go: you've added your domain, you've added an account, you've made all the records — and given those settings time to propagate — and any ports needed are open and ready to go. Now it's time to check everything out and make sure it's all working properly.
The easiest way to do this is to log in to the webmail client for the user and try sending a message. Ideally, you'd want to send that message to an outside source: an address you have on a different email server or to a service like Gmail, Yahoo!, Microsoft 365, etc. After you receive the message, try replying to it and making sure you receive a response back in the email client. To do this:
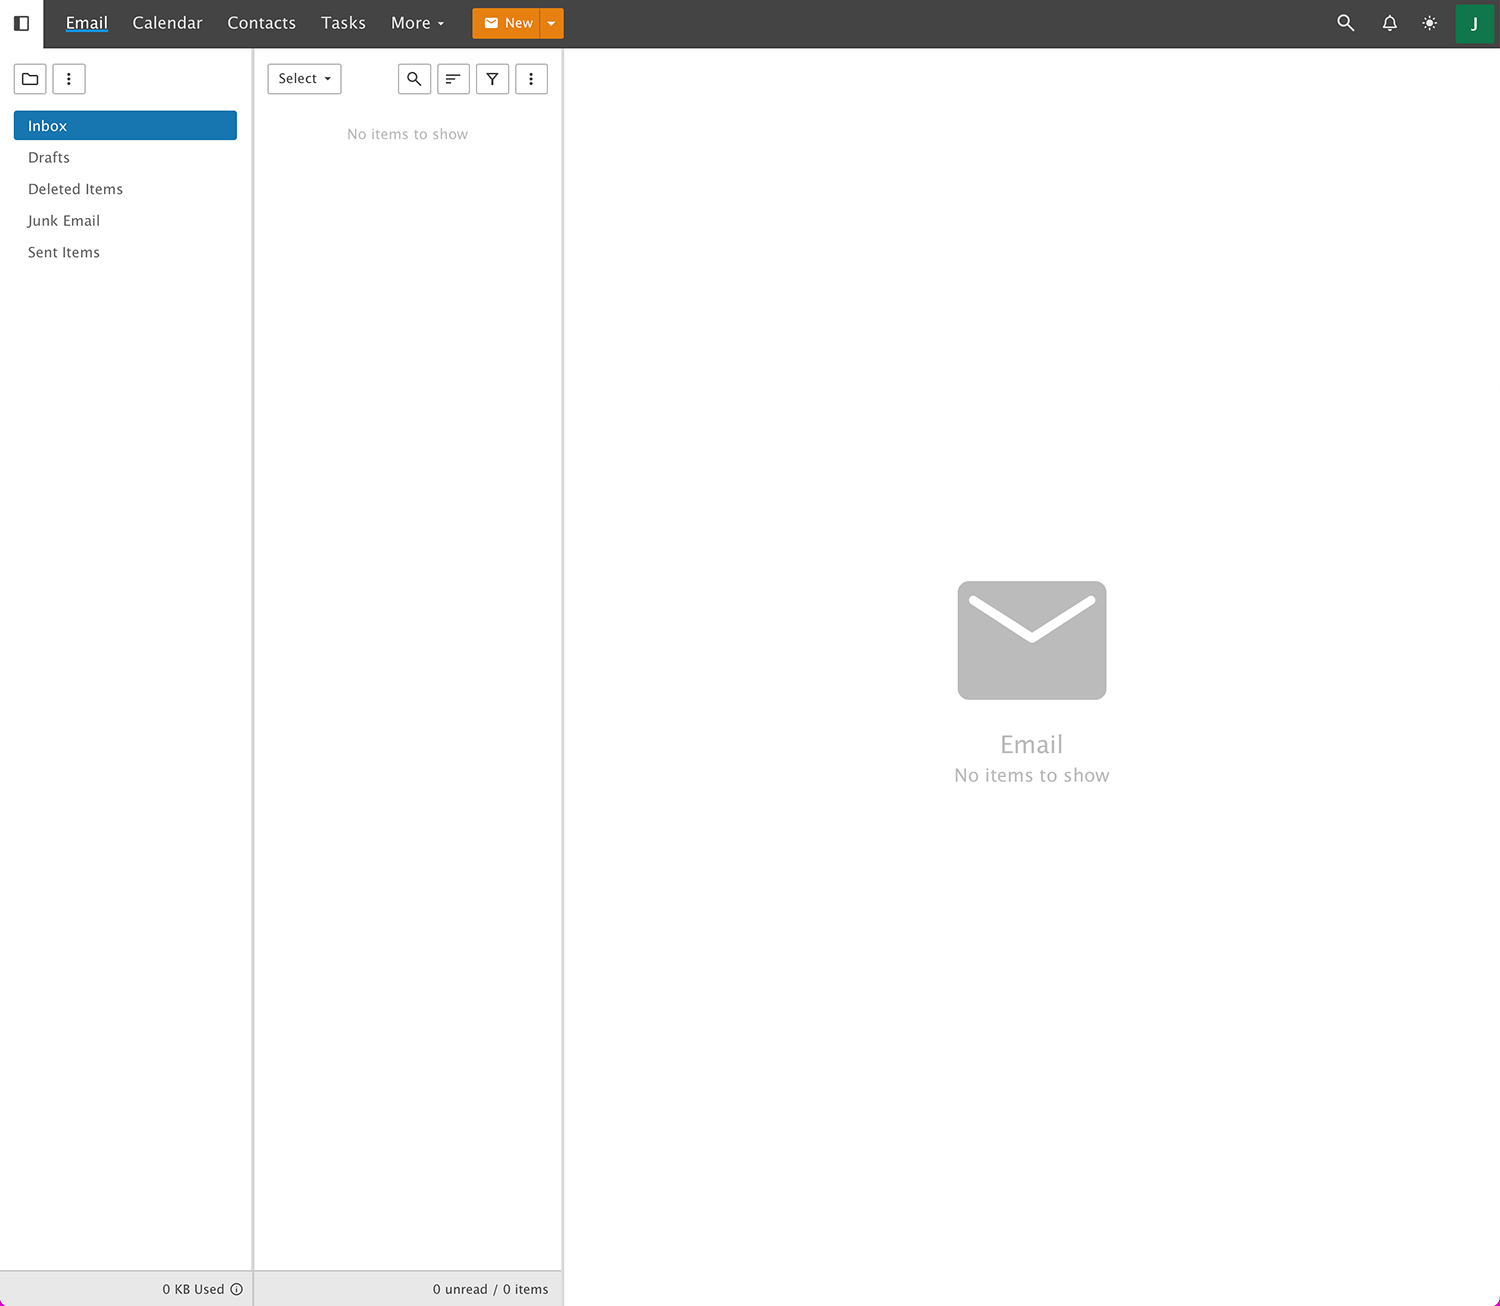
- Open a browser and type in the webmail URL for the domain you have set up. Generally, this will be something like https://mail.your-domain.com. You're greeted with a page that looks similar to this:
- Type in the full email address of the user you added, then the password.
- Next, click the Login button.
- Once you log in for the first time, you may be asked for your time zone. These help customize the webmail interface to your particular user.
- After providing those details, you'll be logged in to SmarterMail, and find yourself in your Inbox.
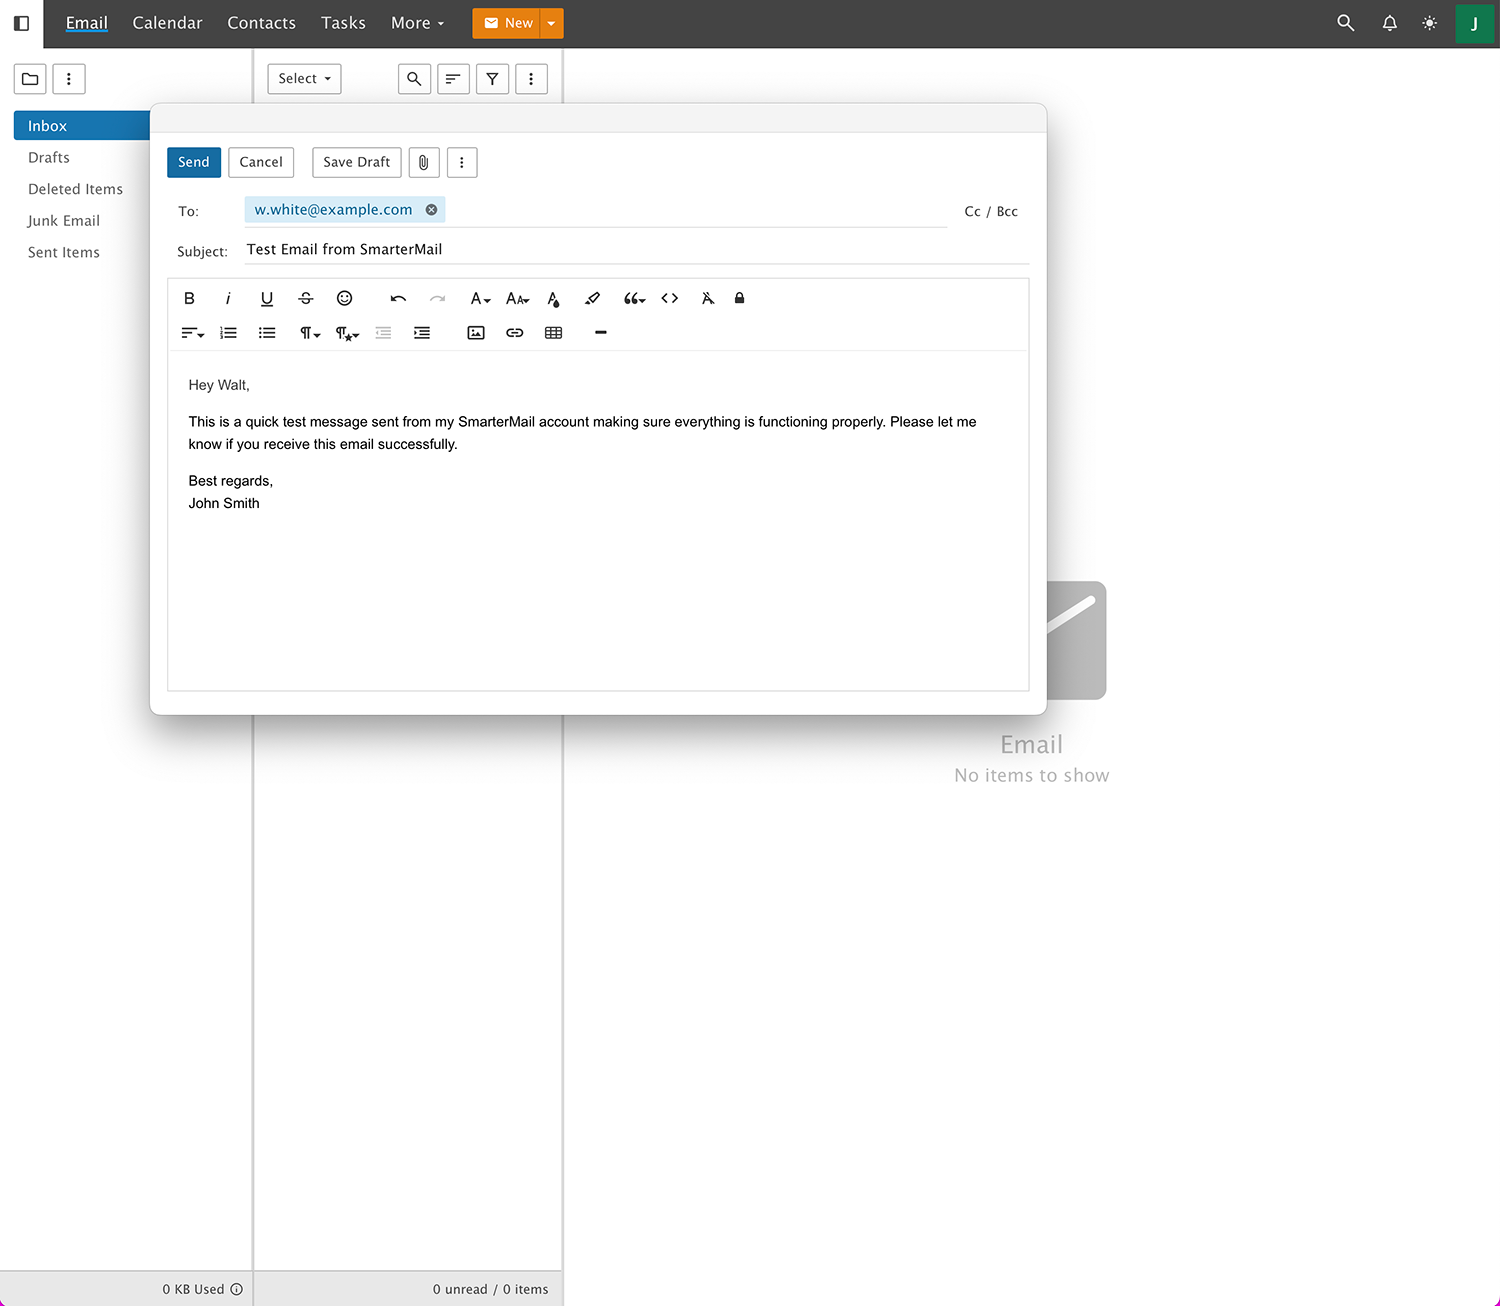
- Clicking on the blue New button will open up a new compose window as a pop-up (be sure to have pop-ups enabled in your browser). Here, you can type in the To: address, a subject line and some text for your first message. After you've done this, hit the Send button.
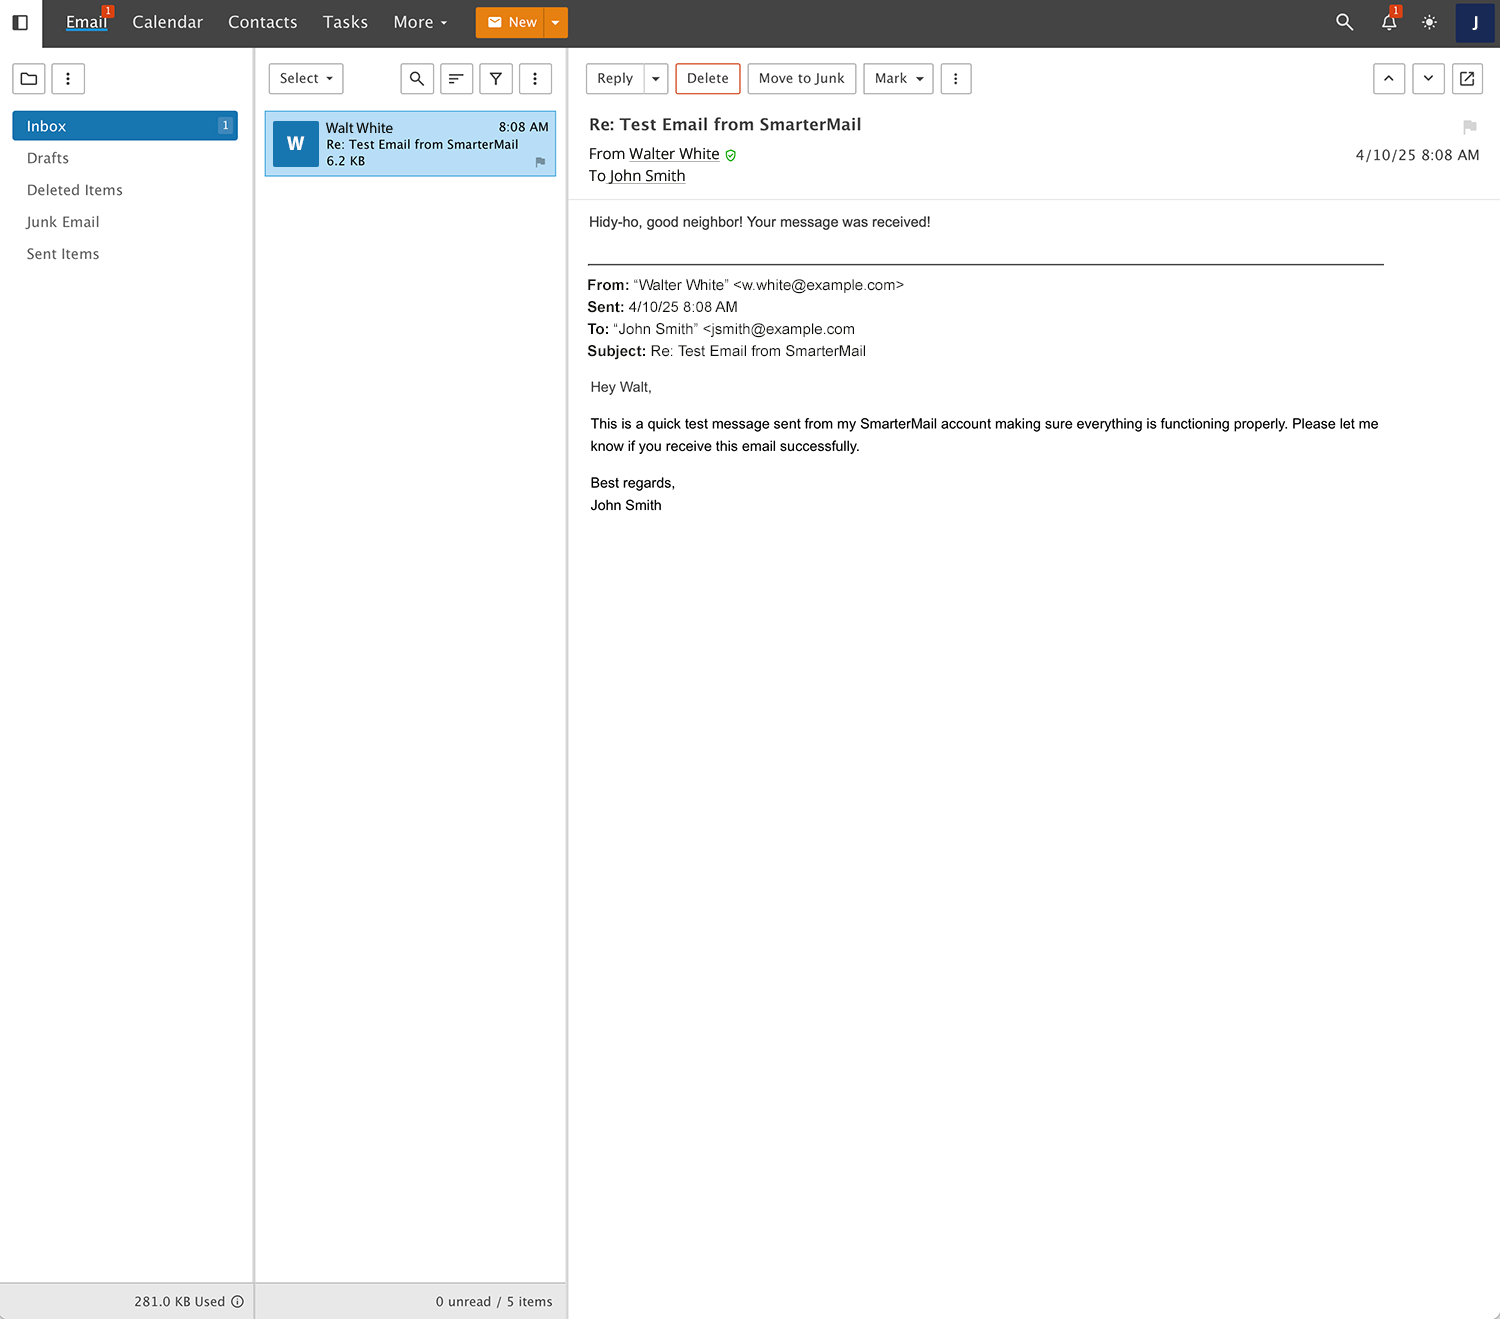
- If things are set up correctly, you'll see the test message in the inbox and can type up a reply to it. Be sure to send that email.
- Again, if things are set up correctly, you'll soon see the reply in your inbox:
- Congratulations! Your SmarterMail server is set up and working as expected!

Next, you can try setting up the user in an email client such as Outlook, MacMail or eM Client. It wouldn't hurt to try setting up the user on a mobile client as well. It's recommended you use IMAP, which is a standard and very stable email protocol. Once you have the user set up, try the same test: send a message to an outside address, then reply to it.
What If It Doesn't Work?
While setting up a SmarterMail server is a relatively simple thing, there are times when something gets out of whack or isn't configured properly, and that can cause issues. Here are a few things you can check if either your test message didn't send, or the reply message was never received:
- Make sure you've given DNS enough time to propagate. While modern DNS server changes are almost instantaneous, it can take 12+ hours for DNS changes to actually take effect.
- Make sure the ports needed for a mail server to work are all open and responding.
- Take a look at our knowledge base article: Cannot Send Outgoing Email Messages for some additional troubleshooting tips.
- Try restarting the server.
If all else fails, feel free to contact our fantastic Technical Support team. Simply log in to our website and submit a ticket to us. After all, any product you buy from us comes with technical support absolutely free, as long as Maintenance and Support is active on your license.
Our knowledge base has a ton of articles that can help get you started, and that offer a number of tips on how to keep your SmarterMail server up and running.
Another great resource is the SmarterTools Community, which is where our users gather to discuss issues, talk about new features and generally interact about all SmarterTools products.