Installation and Upgrade (Linux)
SmarterMail comes as a single installation file that will automatically download and install the appropriate operating system components required to run SmarterMail on your server. The features available are based on the license used during the activation process; if no license is entered, the Free Version will be installed.
Jump to:
- Installing SmarterMail on Linux
- Upgrading SmarterMail
- Uninstalling SmarterMail
- Manually Installing SmarterMail
- Things to Know
- Welcome to SmarterMail
Installing SmarterMail on Linux
SmarterMail’s Linux installers depend on both curl and libicu packages. Most distributions include these by default, but if yours doesn’t, run the following commands before installing.
CentOS Stream:
Debian 11:
Debian 12:
Debian 13:
Fedora:
Red Hat:
Alma Linux:
Rocky Linux:
Suse Enterprise:
Ubuntu 20:
Ubuntu 22.04:
Ubuntu 22.10:
Ubuntu 23:
Ubuntu 24:
Ubuntu 25:
After installing both curl and libicu packages, run the following in bash command to download and run the SmarterMail installer, which will download and install the current SmarterMail build. Replace the XXXX with the build number you wish to install (a full list of versions is available on the SmarterMail Release Notes page):
&& chmod +x smartermail_XXXX \
&& sudo ./smartermail_XXXX install
This bash command will download and run the SmarterMail installer. This includes setting up all folders and directories needed to run SmarterMail. Therefore, it's just like any standard program installation.
Upgrading SmarterMail
To upgrade SmarterMail, first, backup your SmarterMail installation or take a snapshot of your VM.
Run the following in bash command to download and run the SmarterMail installer, which will download and upgrade the current SmarterMail build. Replacing the XXXX with the build number you wish to install. Yes, this is the same exact bash command that you use to install SmarterMail originally.
&& chmod +x smartermail_XXXX \
&& sudo ./smartermail_XXXX install
Uninstalling SmarterMail
To uninstall SmarterMail, run the following in bash command, in the folder where you downloaded the SmarterMail installer. If you do not have the installer still, you can download it again using the curl and chmod commands in the installation section above.
Manually Installing SmarterMail
To manually install SmarterMail — generally when automating the installation process or installing via scripts — do the following:
- First, you want to download the installer:
curl --max-time=6000 -O https://downloads.smartertools.com/smartermail/100.0.XXXX/smartermail_XXXX
- Next, download the ZIP package, which contains all of the files necessary to install
SmarterMail:
curl --max-time=6000 -O https://downloads.smartertools.com/smartermail/100.0.XXXX/smartermail_XXXX.zip
- Create a folder called "sm-install-data"
mkdir sm-install-data
- Then, you'll want to move and rename the ZIP file you downloaded to that new folder:
mv smartermail_XXXX.zip sm-install-data/sm.zip
- Now you can run the installer:
sudo ./smartermail_XXXX install
- The last step is cleaning up your downloads, otherwise the next upgrade may fail:
sudo rm -rf sm-install-data
rm -f smartermail_*
That should do it. SmarterMail is installed and ready for any future upgrade/update.
Things to Know
By default, files are stored in the following locations:
- System Configuration Files - /etc/smartermail
- SmarterMail Data Files - /var/lib/smartermail
Additionally:
- The Release Notes for all major and minor versions of SmarterMail, as well as Release Notes for all current Builds, are available on the SmarterMail Release Notes page of our website. It's a great idea to familiarize yourself with all the changes that have been made to SmarterMail between the version you're on and the version you'll BE on once you've upgraded.
- If you are upgrading an installation that utilizes a license key, you WILL need to re-activate that key once the upgrade completes. Please be aware that license keys pertain to the version of SmarterMail you're running as well as the maximum version of SmarterMail you CAN run — you cannot activate a key on a more recent version of SmarterMail if your key does not support that version. However, all license keys are retroactive for previous versions.
Welcome to SmarterMail
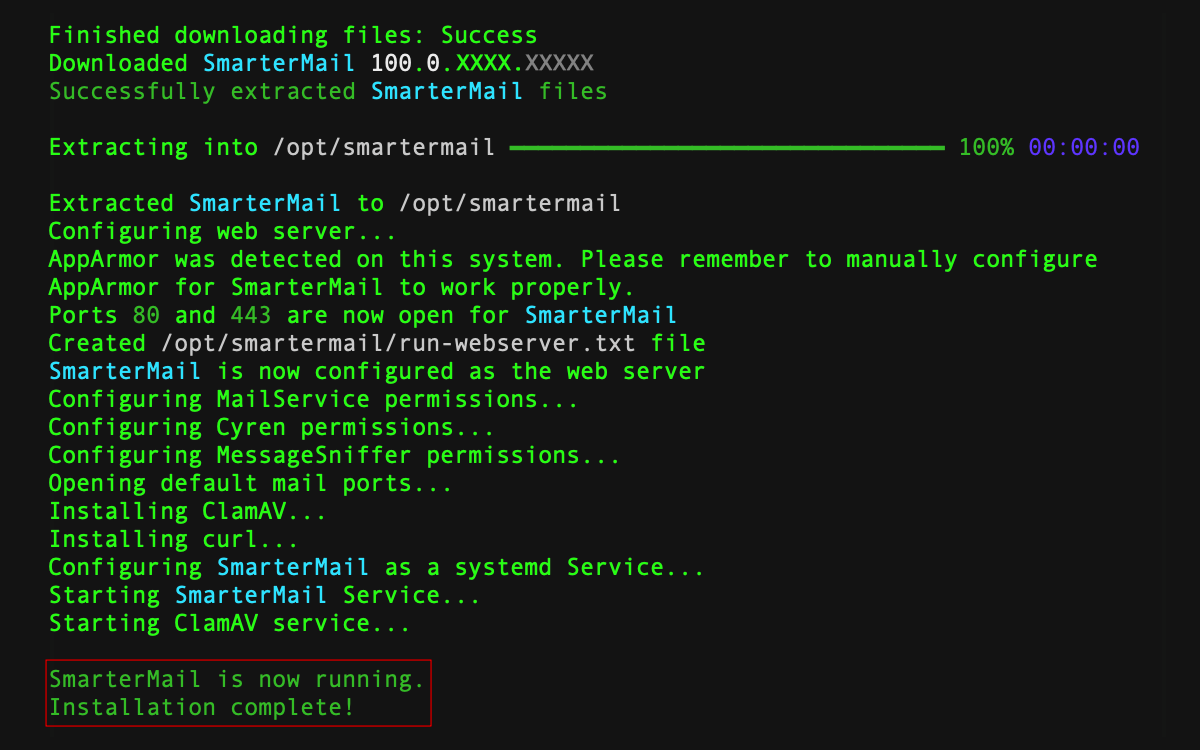
After SmarterMail is installed, a bash confirmation message will appear: "SmarterMail is now running. Installation complete!" This confirms the installation was successful.
The first thing you'll do is select which version of SmarterMail you want to install: Professional or Enterprise or SmarterMail High Availability.
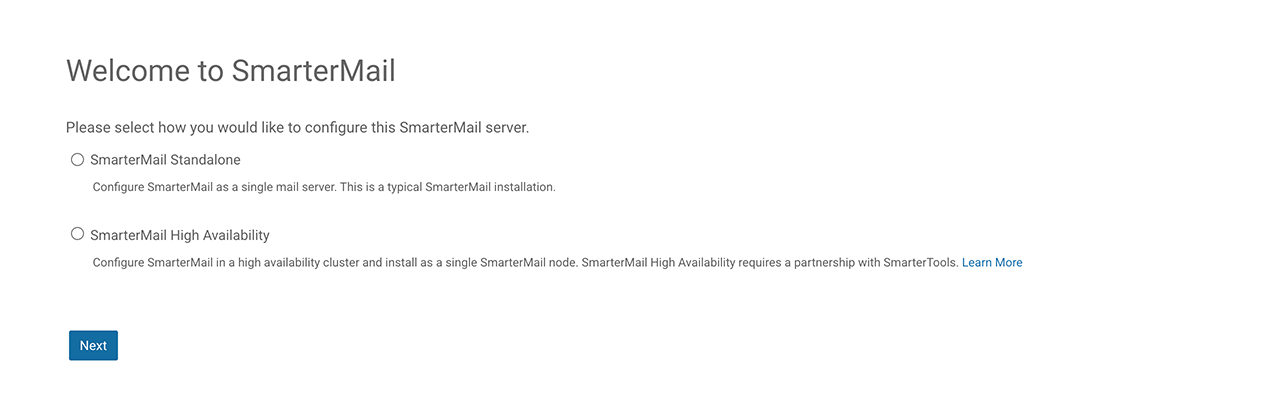
- SmarterMail Professional or Enterprise - This is the typical, single server installation of SmarterMail.
- SmarterMail High Availability - This is the installation process for installing a node (either the first node or subsequent nodes) that resides in a SmarterMail High Availability cluster. SmarterMail High Availability requires a partnership with SmarterTools. For more information, contact sales@smartertools.com.
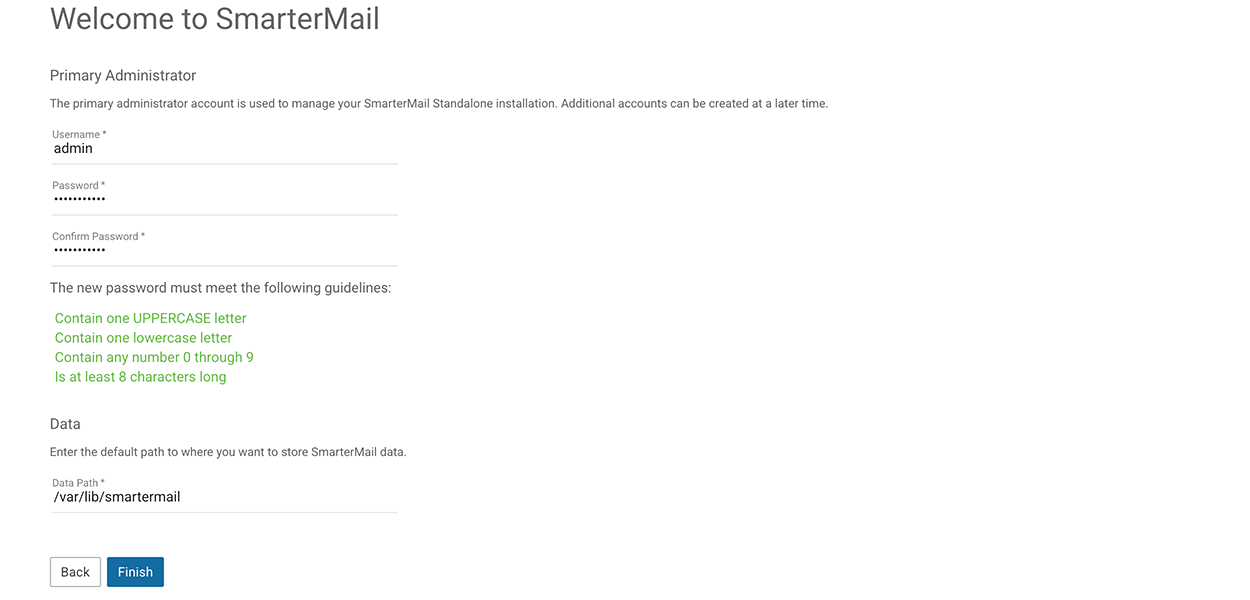
After selecting your installation type, you'll set up a few pieces of information to get started using SmarterMail:
- You'll create the primary system administrator account
- You'll set the default base path for storing all SmarterMail data. This includes domain data, spool, log files, and POP and IMAP retrieval data, etc. By default, this path is /vadr/lib/smartermail
Once you have set up this information, you will be redirected to the webmail interface and automatically logged in to SmarterMail using the system administrator you created. From there, you can add in your first domain, then add users to that domain, you can modify your default domain template, adjust the security settings as needed, and more.