RocketChat
RocketChat is a powerful team communication platform that enables real-time messaging, file sharing, and seamless integrations. By integrating with SmarterMail, users can receive email notifications, alerts, and messages directly within RocketChat channels, streamlining communication and enhancing collaboration. This integration ensures users stay informed without constantly switching between platforms.
Configuring RocketChat
This section is for users who will be using RocketChat in SmarterMail. Follow these steps to properly configure RocketChat in SmarterMail.
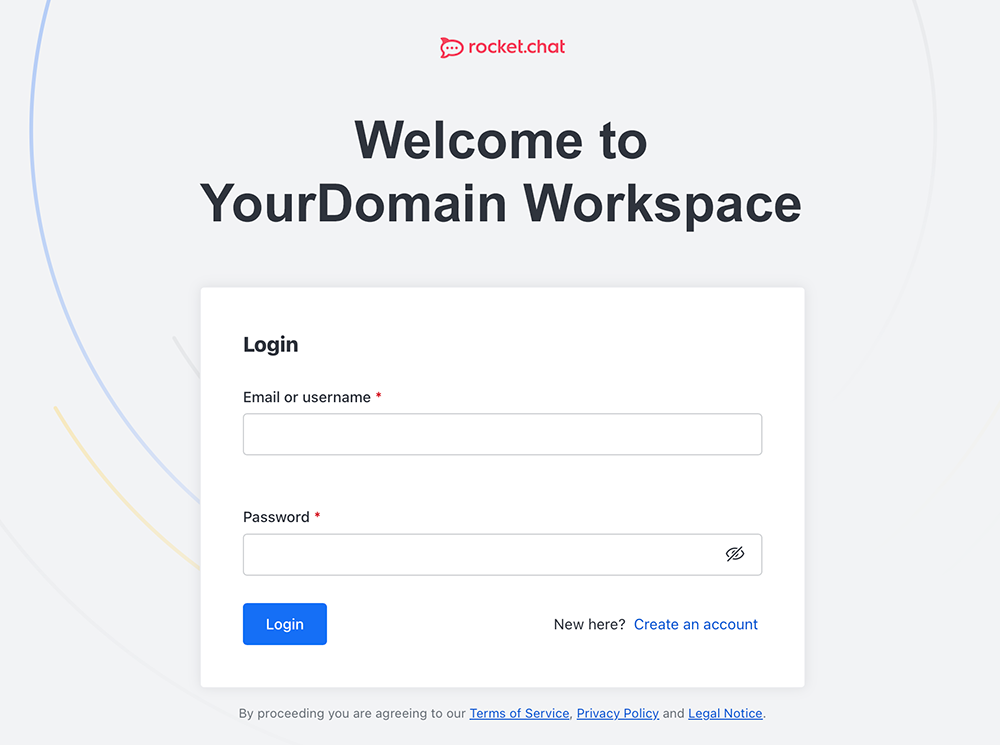
- Log into your RocketChat Workspace. For most domains, the URL is http://rocketchat.yourdomain.com. Use the credentials provided by your System Administrator or Domain Administrator.
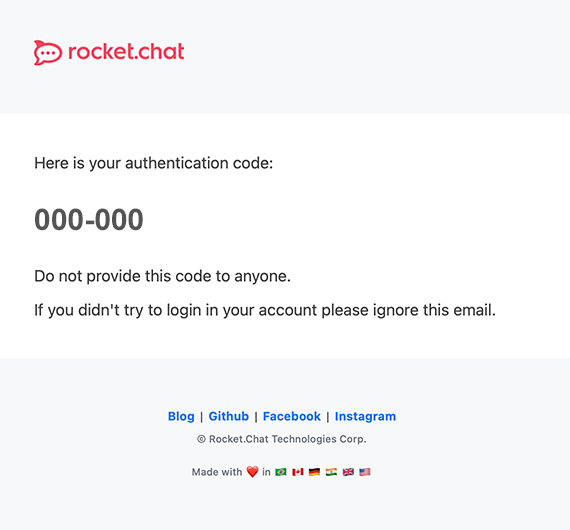
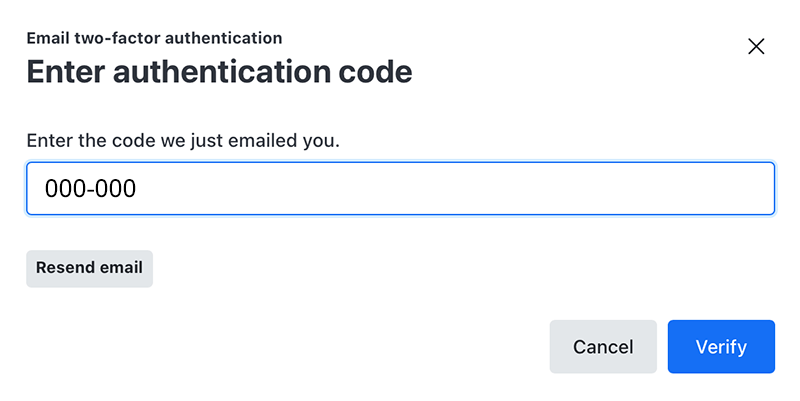
- If Two-Factor Authentication (2FA) is enabled, you will receive a 6-digit verification code via email. Enter the code and click Verify.
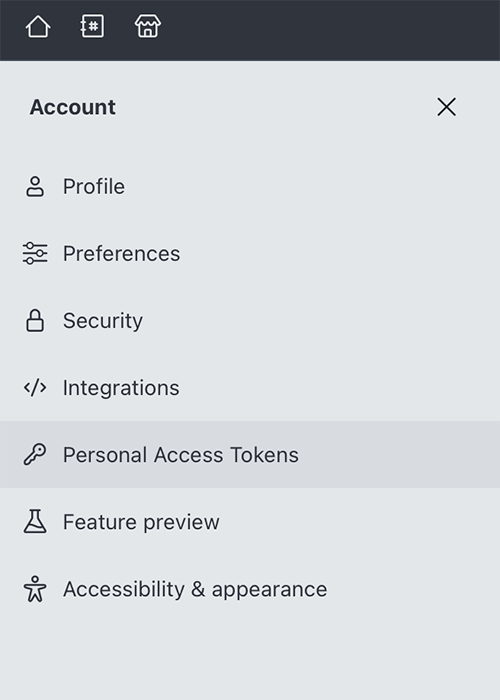
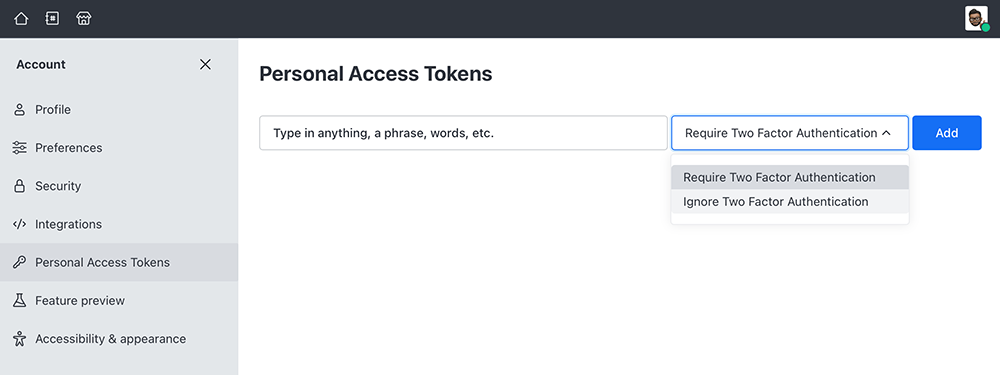
- In your RocketChat Workspace, click on your user profile/avatar in the top-right corner, then click Preferences. Navigate to Personal Access Token in the left-hand menu.
- To create or add a Personal Access Token, provide a name or phrase for it to enhance security and confirm the user's identity. Click Add, then enter your RocketChat password when prompted. (Optional: You may enable or ignore Two-Factor Authentication.)
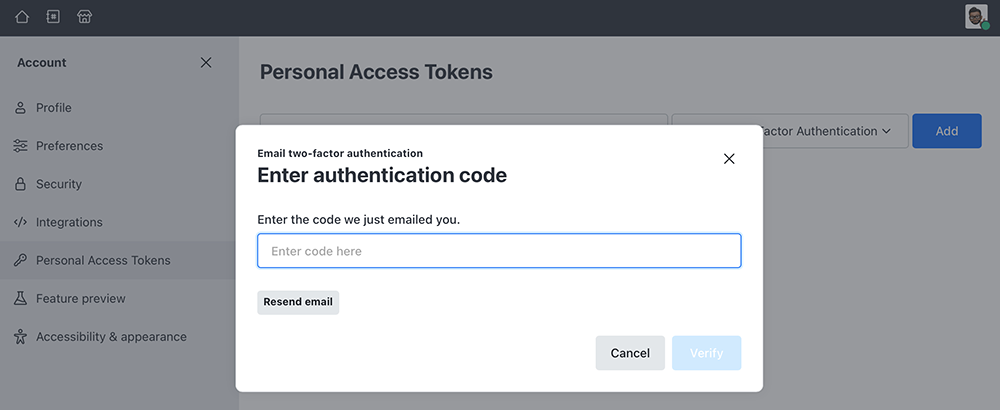
- RocketChat will email you an authentication code. Enter that code.
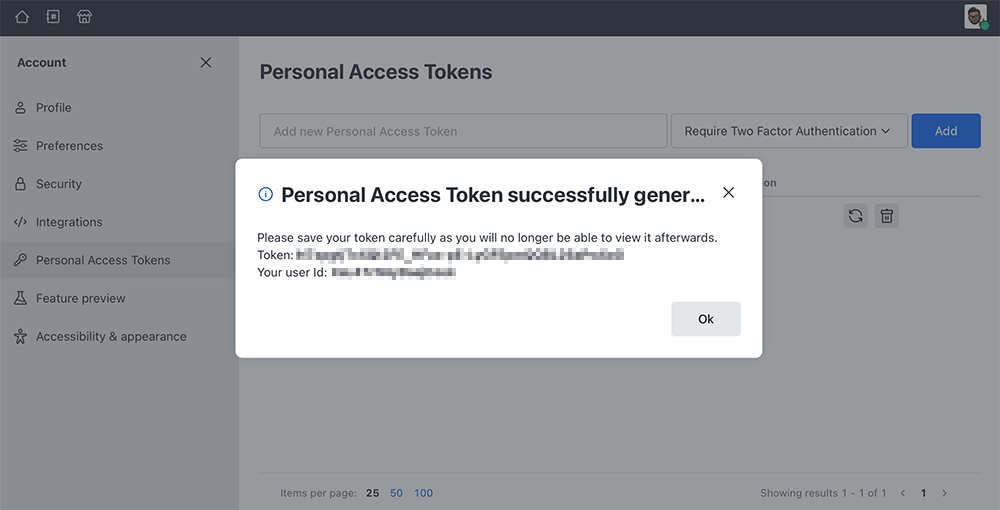
- Click Verify to generate your Personal Access Token.
Note: Save the token details securely. Your Personal Access Token will not be shown again.
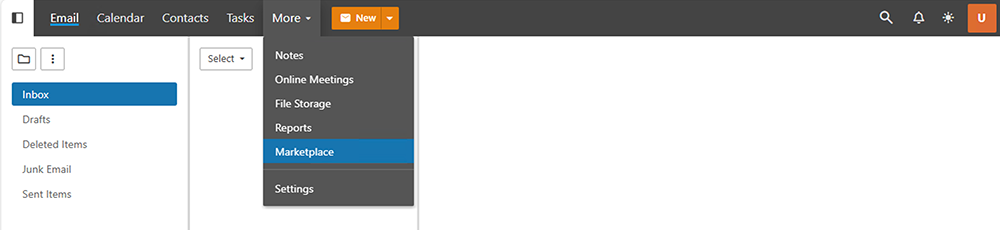
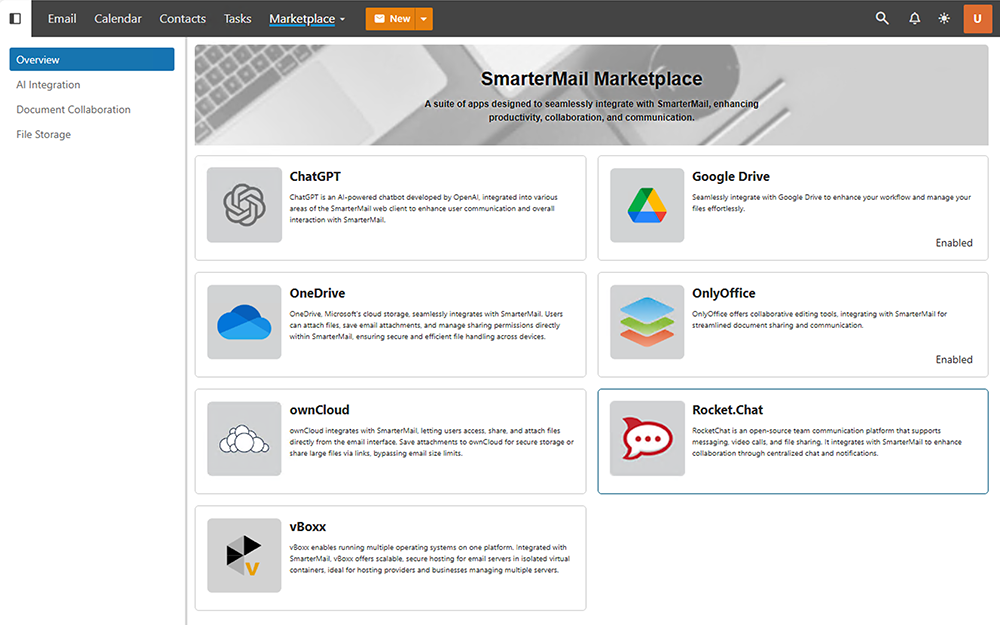
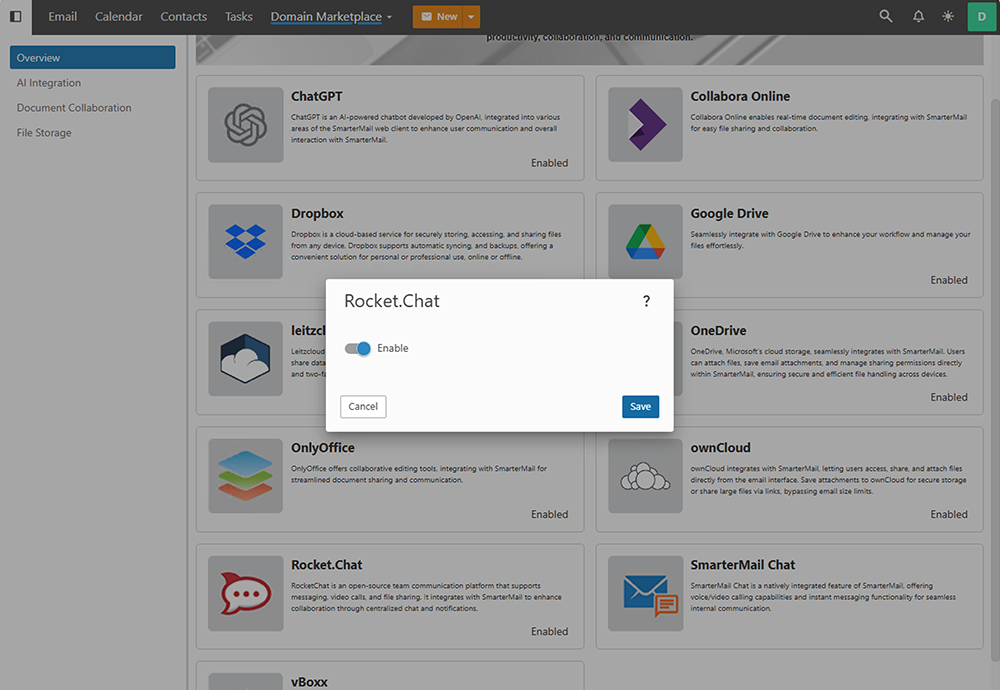
- Log into the Marketplace settings for your account.
- Find the RocketChat card in the list of available integrations.
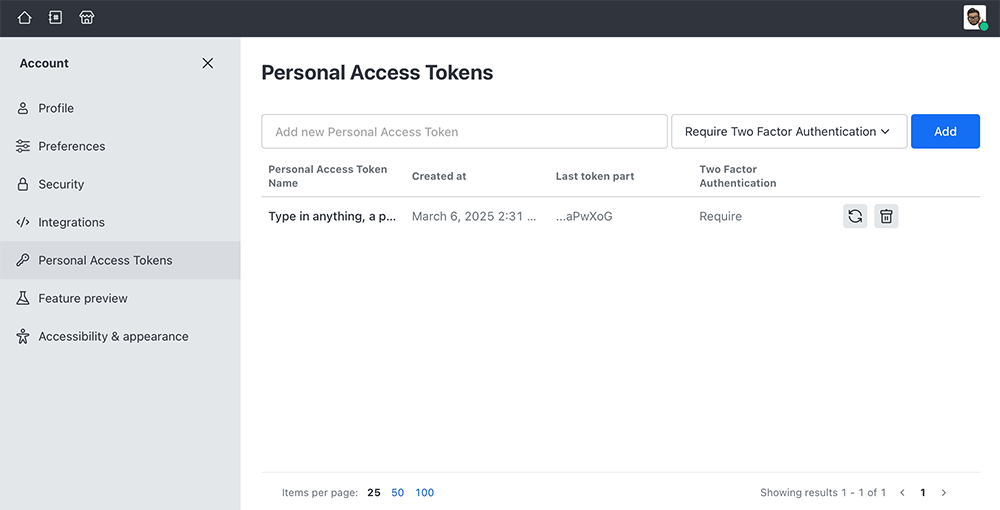
- Toggle Enable and enter the following details: RocketChat Server URL, RocketChat User ID, Personal Access Token. Click Test Connection to verify the setup, then click Save to finalize the integration.
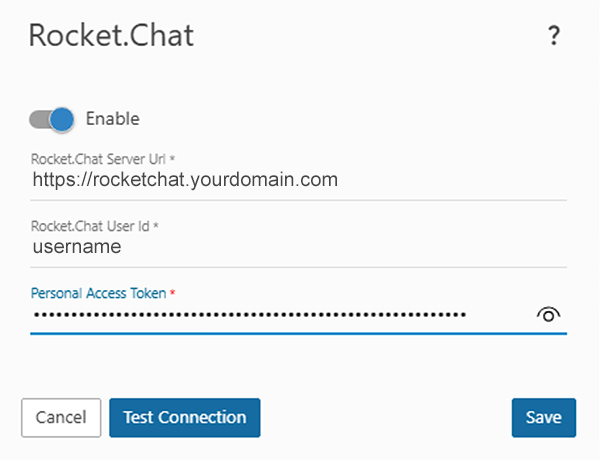
If you are unsure of your RocketChat Server URL, most organizations use https://rocketchat.yourdomain.com. Contact your System Administrator or Domain Administrator if needed.
When you receive a new chat, a red notification box will appear in the lower right corner of your browser. Clicking on the message will open RocketChat in a new tab.
Enabling RocketChat (for Domain Administrators)
This section is for Domain Administrators only. Follow these steps to enable RocketChat in the Marketplace and configure it for your domain.
- Log into the Marketplace settings for your domain.
- Locate the RocketChat card in the list of available integrations. Enable RocketChat by toggling it on.
- Your Domain Administrator or System Administrator should have sent you your user credentials and key from RocketChat's servers via email.
- When you receive a new chat, a red notification box will appear in the lower right corner of your browser. Clicking on the message will open RocketChat in a new tab.
Enabling RocketChat (for System Administrators)
This section is for System Administrators only. Follow these steps to enable RocketChat in the Marketplace and configure it for your domain.
- Log into the Marketplace settings for your domain.
- Locate the RocketChat card in the list of available integrations. Enable RocketChat by toggling it on.
