Configuring SmarterMail for Failover (Windows Only)
| This feature is only available in SmarterMail Enterprise for Windows. |
Who Should Use This
This document is intended for use by administrators deploying SmarterMail in high-volume environments and/or for organizations that want to ensure maximum uptime. It provides minimal system requirements and considerations for deploying SmarterMail in a failover environment.
Failover Overview
SmarterMail Enterprise allows organizations to decrease the likelihood of service interruptions and virtually eliminate downtime by installing SmarterMail on a standby server that is available should the primary mail server suffer a service interruption. For businesses that use their mail server as a mission-critical part of their operations, failover functionality ensures that the business continues to communicate and that productivity remains at the highest levels possible, even if there is a primary server failure.
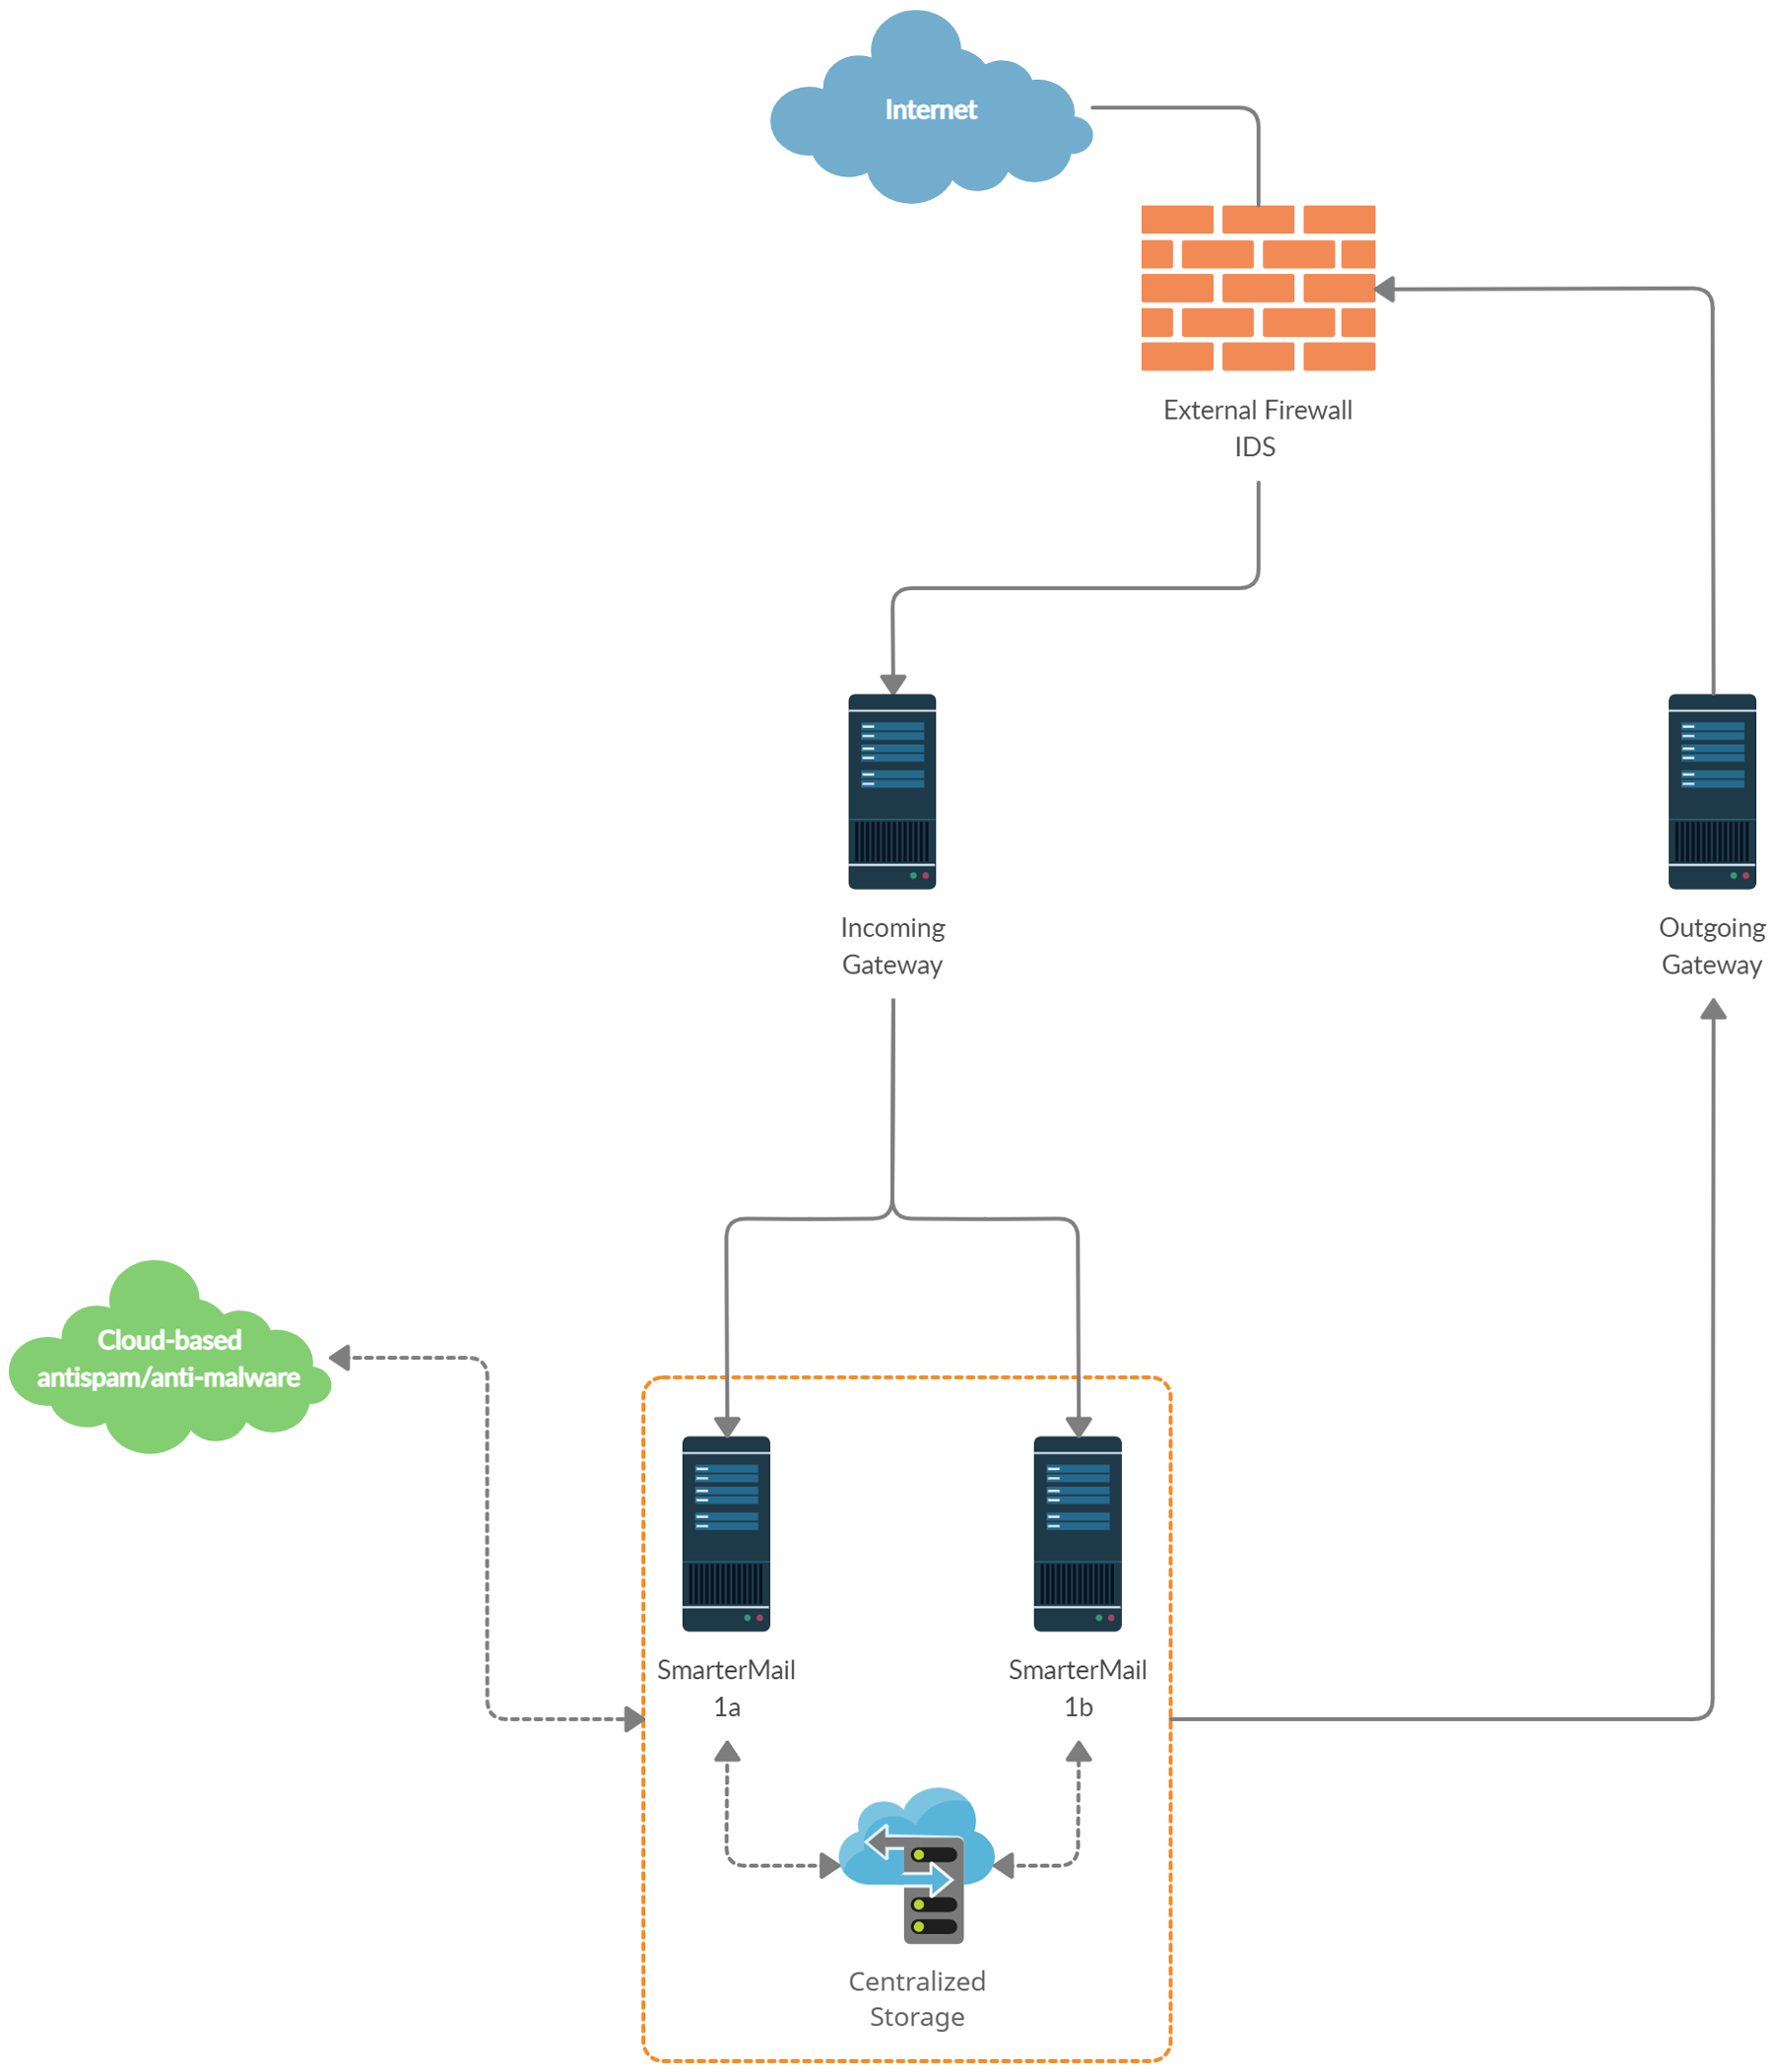
Understanding How Failover Works
The main components of failover functionality are; a primary server that acts as the default SmarterMail server and manages the licensing of the server cluster, and a secondary server that remains connected and available in a “hot standby” mode until the primary server experiences problems with network access or system hardware. It's considered a "hot standby" because the server is "hot", in that it's powered on, but the SmarterMail service (and possibly the web server) are inactive/disabled.
If the primary server fails, SmarterMail can be configured to automatically enable services on the secondary server. When this occurs, the secondary server then takes over responsibility for processing background threads and supporting all email functionality. This server will remain in active status until another failure occurs or the primary mail server comes back online.
The initial set up of SmarterMail's failover functionality entails system administrators manually disabling both the node and SmarterMail service on the primary server and then starting the node and SmarterMail service on the standby. However, system administrators can easily use third-party monitoring systems and script an automated failover and recovery strategy as needed. An example of this is provided at the end of this document.
Minimal System Requirements
- A minimum of two servers running Microsoft Windows Server 2019 64-bit. (Windows Server Core is not currently supported).
- Three IP addresses
- Both servers must have their server times synchronized
- A domain account or local system User or Group account with bidirectional authentication.
- NFS/SMB share for mail and system files. We recommend that the share is running on a NAS/SAN that is configured as RAID 10
Adding Network Load Balancing to Your Servers
- Open the server manager console
- Right click on Features in the tree view and select Add Features
- Check the box next to Network Load Balancing and select Next
- Click Install
- Once the installation finishes, click Close
Configuring the Load Balanced Cluster for Use with Failover
- Navigate to Start → Administrative Tools → Network Load Balancing Manager
- Click the Cluster menu item and select New
- In the New Cluster: Connect window, type the IP of your primary server in the Host: text box and select New
- When the Interface Name and Interface IP appear, select the Interface Name and click Next
- Since this is the primary node, ensure the host Priority is set to 1
- In the New Cluster: Host Parameters window, confirm the IP address and Subnet mask are correct and change the initial host state to Stopped. This is to prevent any issues with connectivity if a machine randomly reboots or suffers from a hardware failure. If all nodes are set to Started for their initial host state, traffic will be split between the two (or more) machines.
- Click Next
- In the New Cluster: Cluster IP Addresses window, click Add and enter in your cluster IP address and the same subnet mask as in Step 6
- Select Next
- In the New Cluster: Cluster Parameters window, confirm the IP address and subnet mask, then enter a Full Internet Name, though this is optional
- Ensure the cluster operation mode is set to Multicast
- Click Next
-
In the New Cluster: Port Rules window, click Edit
- If you want you can restrict the cluster IP to work on an individual port or across a port range. You can also simply allow the cluster IP to work across all ports on the server
- Ensure your port rules are set to Single Host in the Filtering Mode section
- Click OK
- Verify your settings and click Finish to complete the setup
Joining Additional Nodes to the Cluster
- From the secondary server navigate to Start → Administrative Tools → Network Load Balancing Manager
- Click the Cluster menu item and select Connect to Existing.
- In the Connect to Existing: Connect window, enter the IP address of your existing cluster as the Host and click Connect
- Select the existing cluster that appears in the Clusters section and click Finish
- In the main Network Load Balancing Manager, expand Network Load Balancing Clusters and right-click on your Cluster (it may be the IP address of your cluster) and select Add Host to Cluster
- In the Add Host to Cluster: Connect window, enter the IP address of the secondary server in the Host: section and click Connect
- When the Interface Name and Interface IP appear, select the Interface Name and click Next
- In the Add Host to Cluster: Host Parameters window, confirm the IP address and subnet mask and ensure the Initial Host State is set to Stopped. As this is the second node you're adding to your cluster, the Priority should be set at 2
- Click Next
- Just as with the primary node, in the Add Host to Cluster: Port Rules window you have the ability to set this node to respond via specific ports or a port range. If you wish to set these rules, click Edit. Otherwise, click Finish to complete the setup
- Wait for the nodes to converge and, if necessary, stop the secondary sever by right-clicking the second server's name, select Control Host → Stop
Configure a Shared Service Directory
- Using Network File Sharing (NFS) or Samba (SMB), create a shared directory named SmarterMail, preferably on a NAS or SAN.
- Inside that new SmarterMail folder, create a Settings folder
- Configure your permissions accordingly. The SmarterMail service needs to run as a domain account or a local account with bidirectional authentication. You can configure this within the Windows Services console. When running SmarterMail with failover, Local System, Local Service and Network Service users are not allowed.
Configuring a Fresh Installation of SmarterMail for Failover
- Manually install and configure a primary SmarterMail server using the .MSI file available from the SmarterMail downloads page. Then, stop the service on this primary installation.
- Manually install another SmarterMail Enterprise instance on a second server. This new installation will be your standby. Leave all setup information as the default settings and after setup is complete, configure SmarterMail as an IIS site.
- Stop the SmarterMail service on the standby
- Edit the failover.json file in the primary server's Settings folder as follows.
- FailoverIPAddress - Set this to the IP address of the Network Load Balancer
- IsEnabled - Set this to True
- SharedSystemFilesPath - Set to the shared network shared system folder
- Save this file, then copy it to the standby's Settings folder, replacing the existing failover.json
- Copy over all folders and files from SmarterMail's Settings folder to the Settings folder in the shared service directory you created.
- Start the service on the standby server and verify that the paths are pointing to the network shared paths
- Activate your Enterprise key on the standby by logging into SmarterMail's management interface as the system administrator and going to the activation section. Then stop the SmarterMail service on the server
- Start the service on the primary server, then reactivate your Enterprise license key in the SmarterMail management interface
- After re-activating the license, go to IP Addresses and bind all the ports to the load balancer's IP address and make sure no other IPs have any ports bound to them
- Both servers are now set up for failover. To verify this, log into the primary server as the system administrator and go to Gateways / Failover. The servers that are part of the failover cluster will be displayed on the Failover Servers tab.
A sample failover.json would look like this (this example is for a Windows server):
                    {

                    "NodeId": "a51eba87-c8c6-49e3-812f-84e46ab617e7",

                    "FailoverIPAddress": "122.32.55.241",

                    "IsEnabled": true,

                    "SharedSystemFilesPath": "\\\\serverName\\SmarterMail\\Service\\Settings"

                    }
The code should look like the above: casing, proper escaping of paths, etc. in order for the JSON to be read properly.
Adding Failover to an Existing Installation of SmarterMail
- Ensure the primary server is running the latest version of SmarterMail and that it is also configured as an IIS site. Ensure the IIS binding is pointing to your cluster IP address
- Install SmarterMail on a standby and configure it as an IIS site. Ensure the cluster node is stopped on the standby and ensure the IIS binding is also pointing to the cluster IP
- Stop the SmarterMail service on the standby
- Copy all of your mail data (located in C:\SmarterMail\ by default) to your shared service directory. If possible, use robocopy to do this because it will not result in any downtime for the mail service
- Once robocopy finishes, run it one more time. This second pass will only copy any new data
- Stop the SmarterMail service on the primary server
- Edit the failover.json file in the primary server's Settings folder as follows:
- FailoverIPAddress - Set this to the IP address of the Network Load Balancer
- IsEnabled - Set this to True
- SharedSystemFilesPath - Set to the shared network shared system folder
- Copy that failover.json file, after you've edited it, and move it to the same location on the standby. You should replace the file on the standby, if it already exists.
- Run the robocopy one more time to copy over any modified files and remaining spool emails
- Copy over all folders and files from the SmarterMail service's Settings folder to the Settings folder in the shared service directory you created.
- Edit the domains.json file in the shared Settings folder and change the path of your domains to match the new NFS\SMB path. (For example, \\NAS01\SmarterMail\Domains\mydomain.com)
- Edit the settings.json file and replace any instances of the old physical path's with your new network location for SmarterMail. (For example, if all of your data was hosted on E:\SmarterMail, you would then perform a find and replace for all instances of E:\SmarterMail to \\NAS01\SmarterMail).
- On the primary server, go to Start → Administrative Tools → Network Load Balancing Manager and stop the cluster node, then start the NLB on the secondary node
- Start the SmarterMail service on the standby
- Access SmarterMail's web interface at the cluster IP and sign in as the system administrator
- Activate your Enterprise key on the standby by logging into SmarterMail's management interface as the system administrator and going to the Licensing section.
- Verify that the data and settings are being picked up from the shared Service directory
- Stop the SmarterMail service on the standby and stop the secondary cluster node
- Start the cluster node and the SmarterMail service on the primary server
- Sign into the web interface on the primary server and re-activate the Enterprise license key by going to the Licensing section.
- Verify mail data and settings are being accessed from the shared service directory
A sample failover.json would look like this:
                    {

                    "NodeId": "a51eba87-c8c6-49e3-812f-84e46ab617e7",

                    "FailoverIPAddress": "122.32.55.241",

                    "IsEnabled": true,

                    "SharedSystemFilesPath": "\\\\serverName\\SmarterMail\\Service\\Settings"

                    }
The code should look like the above: casing, proper escaping of paths, etc. in order for the JSON to be
read properly. Also, due to size limitations, in the sample above the SharedSystemFilesPath is split across
2
lines — that should be ONE line.
Scripting Failover
Below is an example of a PowerShell script that can be created to automate the SmarterMail failover process. You can utilize a third party monitoring product such as PRTG or SolarWinds (though there are many others) to execute this script when a failure is detected.
Prepping PowerShell on the Servers
The servers will need to be configured to run remote scripts and accept remote PowerShell sessions. Therefore, on each server, run the following commands within an elevated PowerShell console:
- Set-ExecutionPolicy RemoteSigned - Press Y to accept
- Enable-PSRemoting -force
Sample Script - Stop a Primary Server and Start the Hot Standby
In the scripts below, replace the “WAN” variable called in the –hostname parameter with the name of your interface. This can be obtained by opening a PowerShell console on the server and typing Get-NlbClusterNodeNetworkInterface. Also replace Server01 and Server02 with the NetBIOS names of your servers.
$StopPrimary = New-PSSession -ComputerName Server01
Invoke-Command -Session $StopPrimary -ScriptBlock { Import-Module NetworkLoadBalancingClusters ; Stop-nlbclusternode -HostName Server01 -InterfaceName "WAN" ;
import-module WebAdministration ; stop-webapppool SmarterMail; set-service -computerName Server01 -name mailservice -status stopped ; remove-pssession Server01}
$StartSecondary = New-PSSession -ComputerName Server02
Invoke-Command -Session $StartSecondary -ScriptBlock { Import-Module NetworkLoadBalancingClusters ; Start-nlbclusternode -HostName Server02 -InterfaceName "WAN" ;
set-service -computerName Server02 -name mailservice -status running ; import-module WebAdministration ; start-webapppool SmarterMail ; remove-pssession Server02 }
Sample Script - Stop the Hot Standby and Re-start the Primary Server
These scripts can be used to bring the primary server back online and stop the standby after your monitoring software issues an all-clear.
$StopSecondary = New-PSSession -ComputerName Server02
Invoke-Command -Session $StopSecondary -ScriptBlock { Import-Module NetworkLoadBalancingClusters ; Stop-nlbclusternode -HostName Server02 -InterfaceName "WAN" ;
import-module WebAdministration ; stop-webapppool SmarterMail; set-service -computerName Server02 -name mailservice -status stopped ; remove-pssession Server02}
$StartPrimary = New-PSSession -ComputerName Server01
Invoke-Command -Session $StartPrimary -ScriptBlock { Import-Module NetworkLoadBalancingClusters ; Start-nlbclusternode -HostName Server01 -InterfaceName "WAN" ;
set-service -computerName Server01 -name mailservice -status running ; import-module WebAdministration ; start-webapppool SmarterMail ; remove-pssession Server01 }